Quilted and puffer cosmetic bags keep coming back because they feel good in the hand and photograph well. They are also easy to get slightly wrong. The same sketch can come back flat and stiff, or so puffy that the zipper fights the panel and the bag is smaller inside than anyone planned.
The fix is to treat the quilted panel as its own component and specify it in layers: the shell on the outside, the wadding in the middle, the backing or lining behind it, and the stitch pattern that holds them together. This note covers each layer, what it changes, and what to check when the first samples arrive.
Shell fabric: hand, sheen and weight#
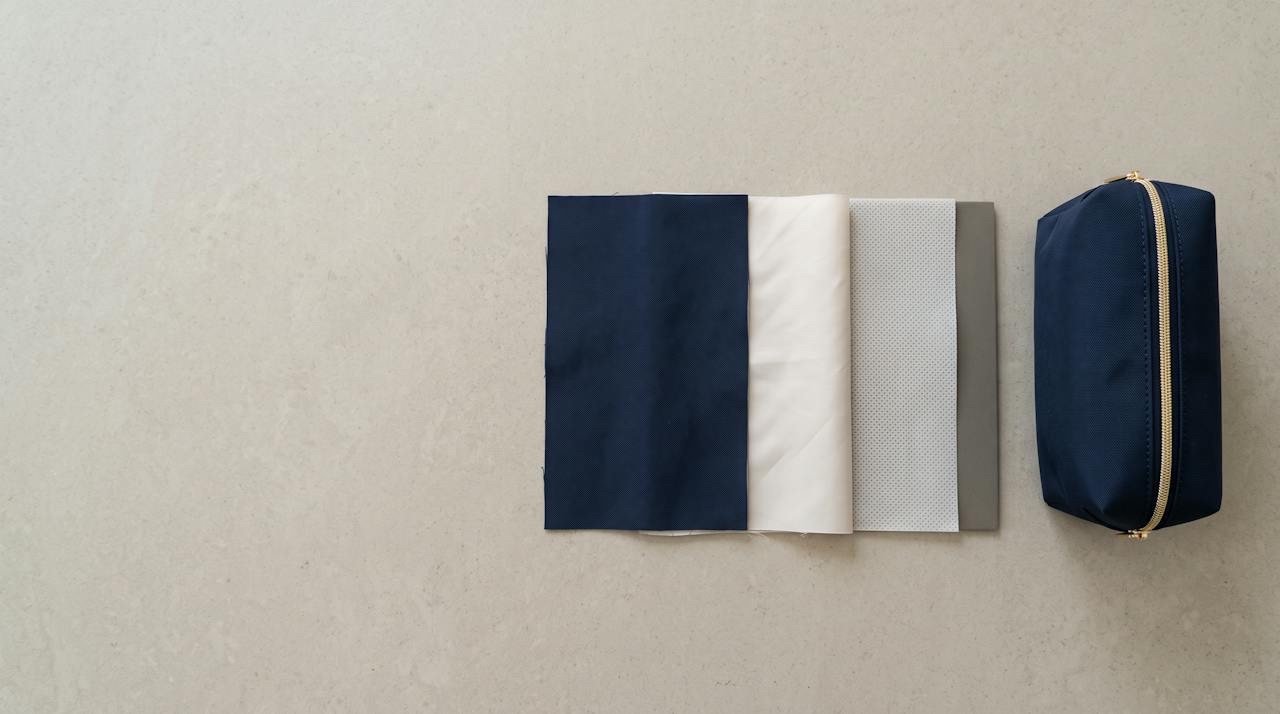
Most puffer pouches use a light nylon or polyester taffeta, because it drapes over the wadding and lets the puff form between the stitch lines. A stiffer, heavier fabric resists that and gives a flatter, more structured quilt. Describe the hand you want in words a developer can act on (soft and drapey, crisp, or slightly papery) and send a reference if you have one. If you quote a yarn weight, such as 210D, treat it as a starting point to agree, not the whole specification.
Sheen matters more than usual. A glossy or cire finish catches light on every ridge and makes the quilting read strongly; a matte fabric softens it. Pale and glossy shells also show needle holes and puckering more clearly. If you are choosing between virgin and recycled yarns, ask for swatches of both in the same colour, because hand and sheen can differ.
The quilt sandwich: wadding, backing and lining#
The wadding sets how puffy and how soft the bag feels. Polyester wadding is the usual choice; bonded types hold their shape and spring back well, while softer, loftier types give a fuller puff but can flatten over time. Thin foam gives a smoother, more structured look. Rather than quoting a weight alone, describe the feel (light and cloud-like, or firm and padded) and ask the factory to quilt a small reference panel in two or three options so you can press them and watch them recover.
Behind the wadding sits either a light backing fabric or the lining itself. Quilting straight through to the lining is neat and quick but puts stitch lines on the inside too; quilting onto a backing and adding a separate lining gives a clean interior and a little more body. Say which you want, and whether the lining should be wipeable. Lining and interlining for cosmetic bags goes through the options.
Quilting pattern and channel spacing#
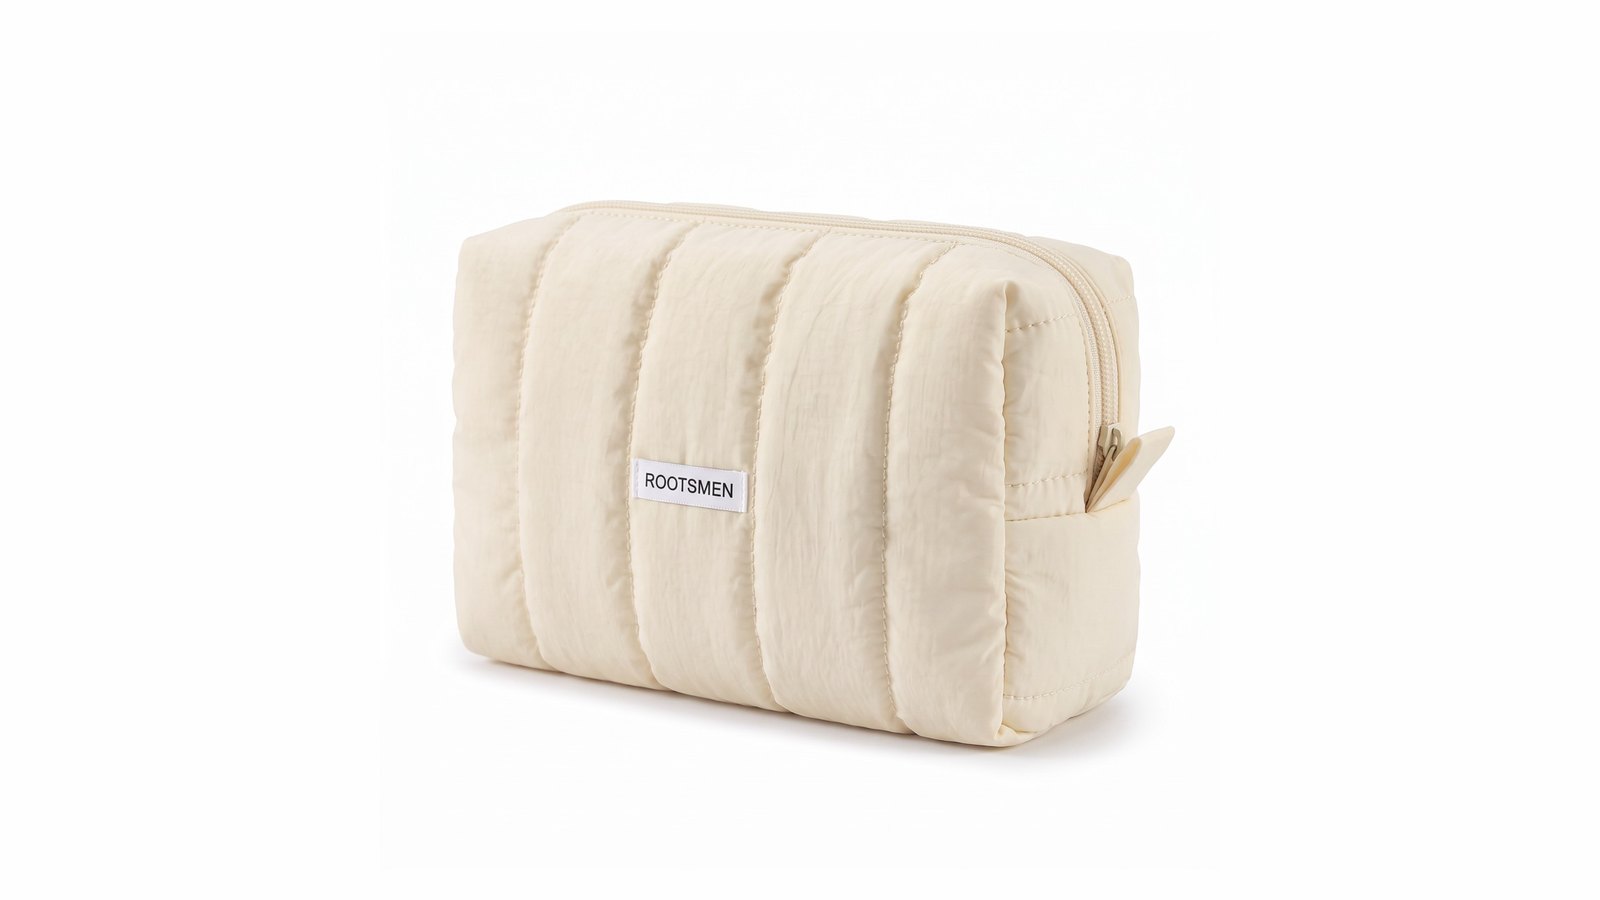
Vertical or horizontal channels give the classic puffer look and the strongest puff. A diamond grid is flatter and more tailored, and an onion (ogee) pattern reads as softer and more decorative. Put the pattern on the drawing, not only in a mood image: the direction of the channels, the spacing as a measurement, and where the pattern should be centred on each panel.
Spacing changes everything else. Wider channels puff up more and pull the panel in more; narrow channels stay flatter and closer to the cut size. Also agree the stitch length and thread colour (tonal thread hides small wobbles, contrast thread shows them) and how the pattern should line up across the side seams and around any logo or label.
How quilting changes size and capacity#
Every line of stitching draws the fabric in slightly, and the puff between the lines takes up space on the inside. So a quilted panel cut to the same pattern as a flat one comes out smaller outside and noticeably smaller inside. The factory will usually quilt oversized panels and cut them to shape afterwards, but only if it knows which dimensions you care about.
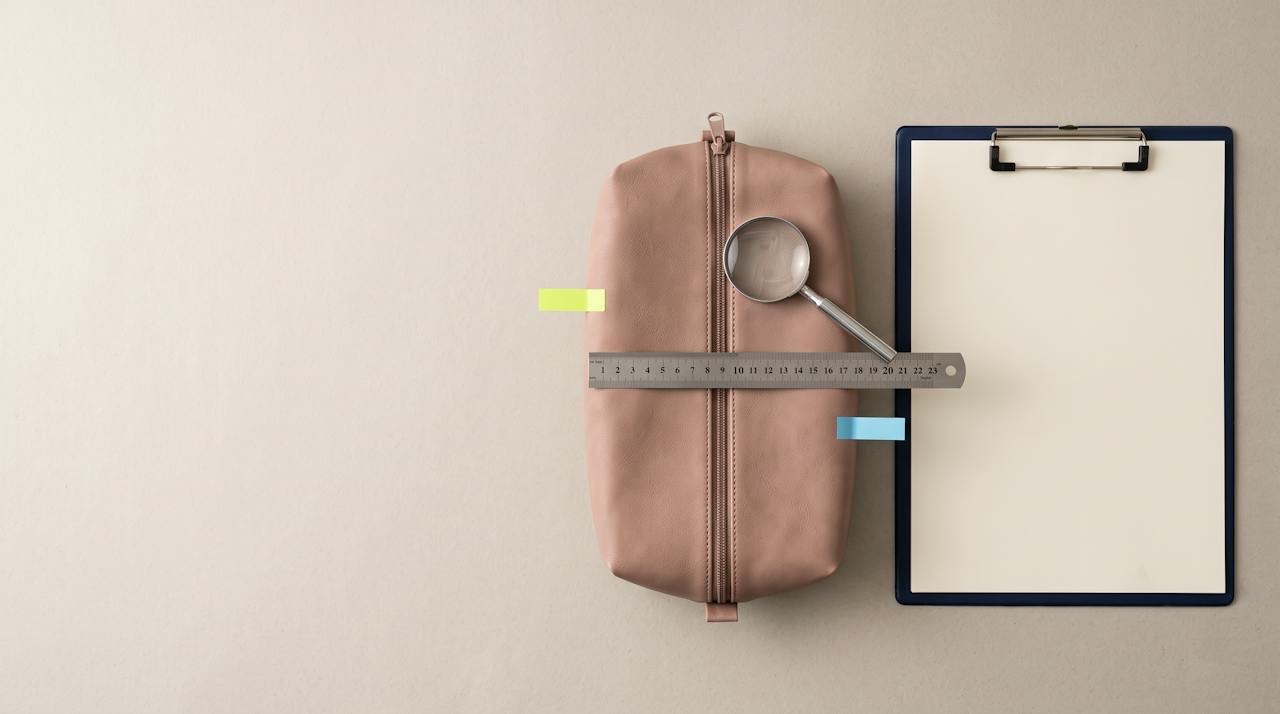
State the finished outside dimensions after quilting, and if capacity matters, say what the bag needs to hold, such as a named set of products, rather than relying on outside size alone. Cosmetic bag sizes and dimensions explains how to measure and quote them.
Seams, edges and the zipper#
Quilted panels are thick, and thickness piles up wherever they meet. Agree how the edges are finished: a fabric binding wrapped over the raw edge gives a soft, rounded outline; piping gives a crisper line; a turned seam looks cleanest but is the bulkiest at the corners. Many developers compress or trim the wadding inside the seam allowance so the corners sit flat, so ask how the factory proposes to handle it.
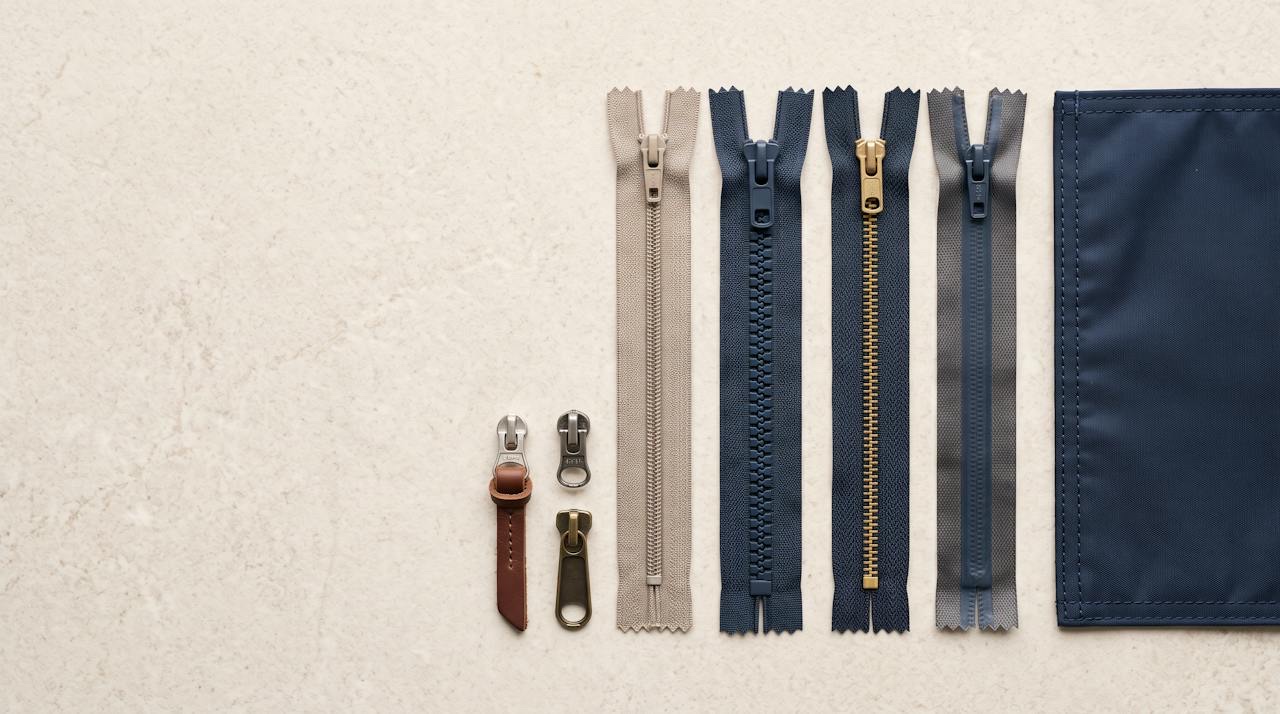
The zipper needs a flat, firm place to sit. On a very puffy panel, ask for an unquilted strip or a zipper panel along the opening, or set the zipper into the binding, so the teeth run straight and the slider does not catch on the puff. A slightly larger gauge and a wide, easy-to-grip puller suit the soft look. More detail is in how to choose a zipper for a cosmetic bag.
Photography and packing#
Quilting is all about shadow, so it photographs best in soft side light, which shows the shape of each channel. Flat front light makes the bag look thinner than it is. Plump the bag up and fill it with tissue before a shoot; a sample that has spent time pressed in a carton will look tired on camera.
The same pressure affects bulk. Agree a packing method that does not crush the puff: no tight compression, a paper or card insert to hold the shape where needed, and cartons sized so bags are not stacked under heavy loads. Ask how long the wadding takes to recover if it is squashed, and check that on samples rather than assuming it.
Sampling checks for quilted bags#
When the sample arrives, measure the finished outside size against the drawing and fill the bag with the products it is meant to hold. Check the channels are even and straight, the pattern is centred, and the stitch lines are free of skipped stitches and puckering. Press a panel firmly and see how quickly it recovers.
Then open and close the zipper with the bag full, look at the corners and binding for bulk or wrinkles, and turn the bag inside out to check the lining. Note every comment against the drawing so the next round is specific. The full checklist is in what to check when your first samples arrive.
| Point | Typical options | What it changes | Agree at sampling |
|---|---|---|---|
| Shell fabric | Nylon or polyester taffeta, ripstop, recycled versions | Hand, sheen, how sharply the stitch lines show | Swatch of the actual fabric in the chosen colour |
| Wadding | Polyester wadding, bonded or needle-punched, or thin foam | Loft, softness, recovery after squashing | A quilted reference panel you can press and release |
| Quilting pattern | Vertical or horizontal channels, diamond, onion | The look of the bag and how evenly it puffs | Pattern placement and centring on each panel |
| Channel spacing | Wide for a puffer look, narrow for a flatter quilt | Puffiness, size draw-in, sewing time | Spacing as a measurement on the drawing |
| Edge finish | Binding, piping, turned and topstitched seam | Bulk at the seams and how clean the outline looks | Corner shape and seam thickness |
| Zipper | Coil zipper on a flat zipper panel or set into binding | Whether it runs smoothly and closes without strain | Opening and closing when the bag is full |