An IP style guide tells everyone how a character, logo or brand mark may appear. Most are written for packaging, print and screens, where artwork sits on a flat surface and colour is controlled with an ink system. A cosmetic pouch, a tote or a travel organizer is different: the artwork crosses seams, wraps round gussets, is stitched in thread or printed on film, and has to be approved before a single unit is cut.
When a factory receives a style guide with gaps, it has to ask questions, and each round of questions sits between your licence approval and production. This article sets out what a soft-goods factory needs from the guide so the brief can move straight into sampling.
Why a style guide written for print falls short on a sewn product#
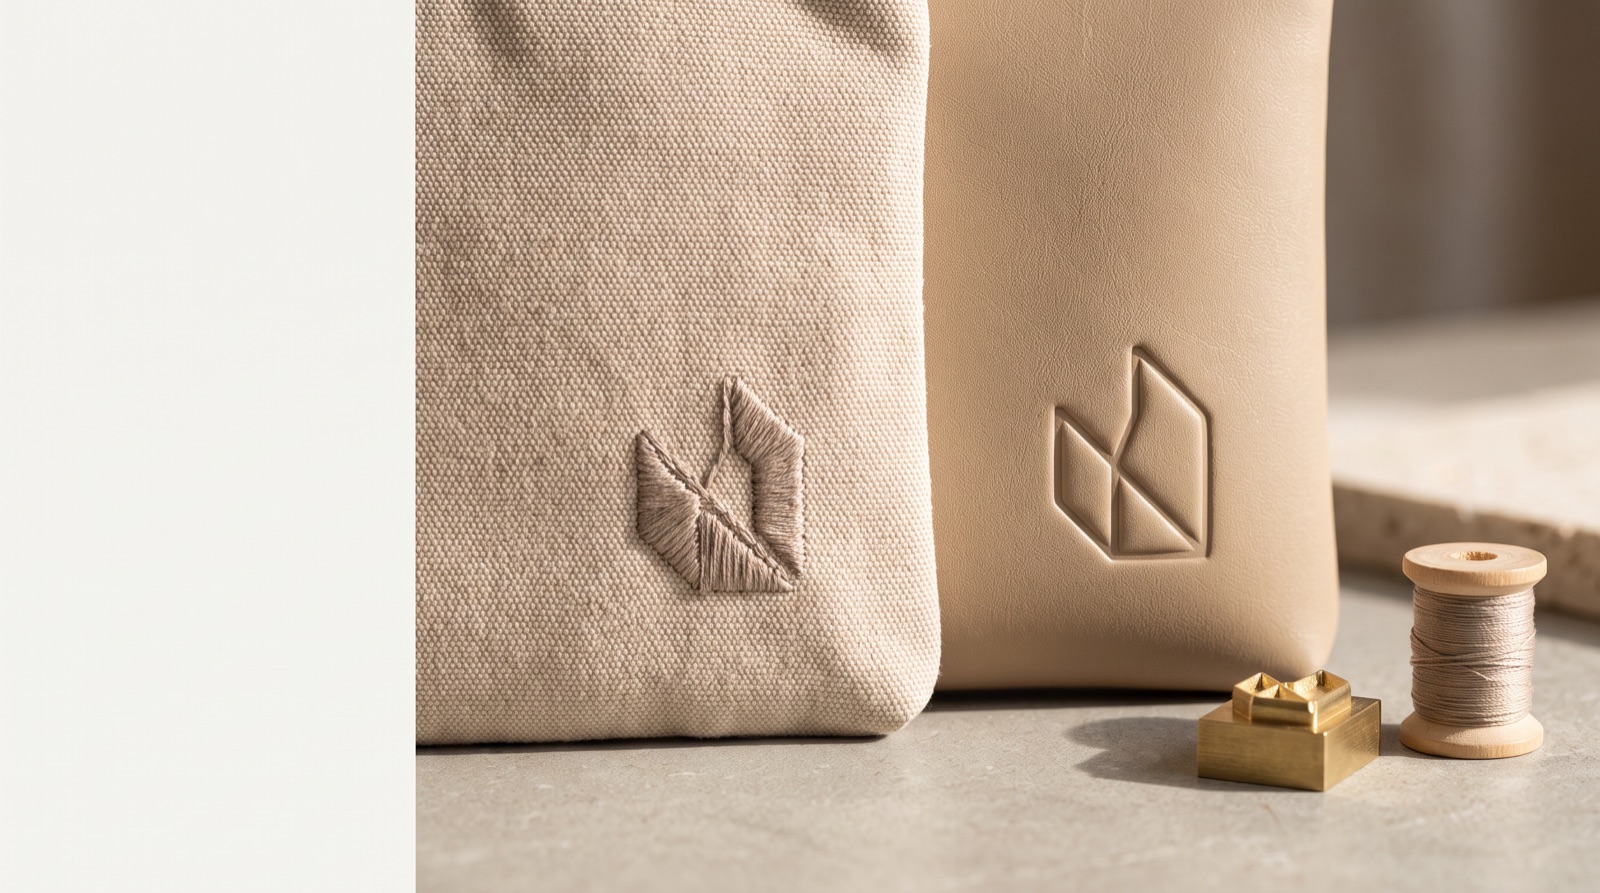
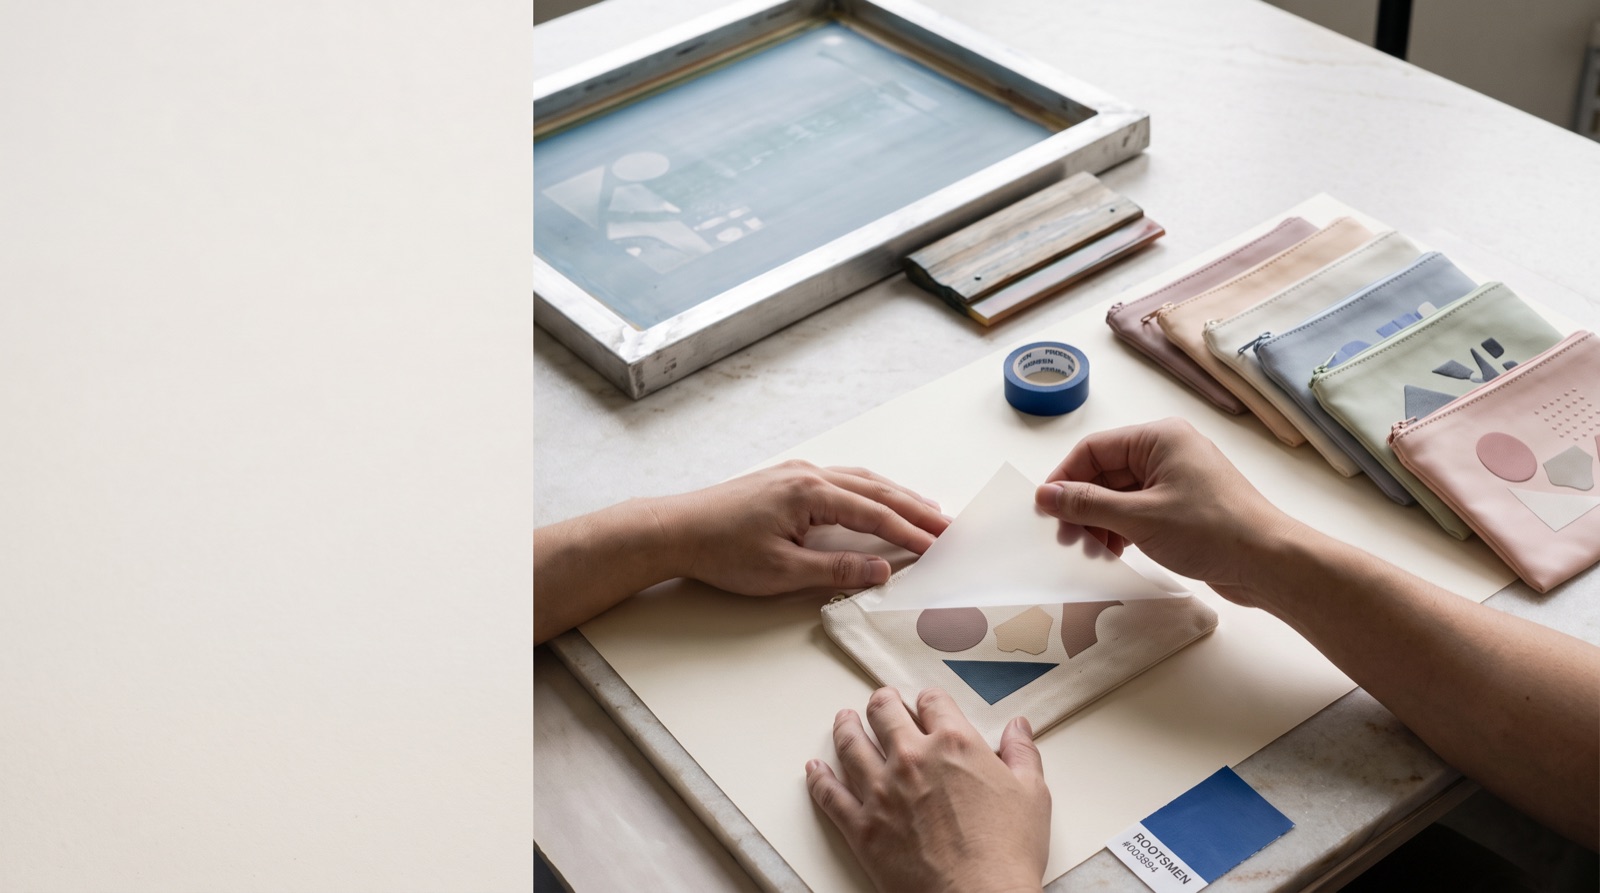
Print guides assume the artwork is reproduced at a known size on a flat sheet. On a sewn product, the same artwork may be embroidered, debossed, screen printed, heat transferred or woven into a label, and each method has its own limits on fine lines, small text and gradients.
The guide also rarely says what happens at a seam or a zipper. A character that spans the front panel of a box pouch will be interrupted by the side seam unless someone decides where it stops. If the guide is silent, the factory has to propose a placement and wait for the licensor to accept it.
Artwork files a factory can actually use#
The factory needs master artwork as vector files, with fonts converted to outlines and each colour on a separate, named layer or swatch. Raster files such as flattened images are usually acceptable only for full-colour printing processes, and even then the resolution needs to suit the final printed size.
Each decoration method usually needs its own working file. An embroidery file is digitised from the vector artwork, and simplification is often needed because thread cannot hold the same detail as ink. A deboss needs a single-colour outline for the tooling. Ask the licensor whether these adapted files are covered by the existing artwork approval or whether each one has to be submitted separately, and record the answer in the brief.
Colour standards that survive fabric, film and thread#
A colour reference on screen or in a print swatch book is a starting point, not a standard the factory can match against. The same reference will look different on nylon, cotton canvas, PU and clear film, and embroidery thread comes from its own colour card.
The style guide, or the brief that accompanies it, should name the colour system used, provide physical standards wherever the licensor has them, and say who approves a match on each material. It should also state the light source used to judge colour, because a match under shop lighting can fail under daylight.
| Style-guide element | What the factory needs | Why it matters on soft goods |
|---|---|---|
| Artwork | Vector masters, outlined fonts, named colour layers | Each decoration method is prepared from the master file |
| Colour | Named colour system, physical standards, thread references, light source | Fabric, film and thread render the same reference differently |
| Placement | Measurements from seams, zipper line or base | Curves and seams interrupt artwork placed by eye |
| Minimum size | A minimum per decoration method | Embroidery and debossing hold less detail than print |
| Legal line | Exact text, symbols, type size and location | Shares limited label space with legally required information |
| Approvals | Stages, signatories, sample counts, change rules | A small substitution can reset an approval |
| Production controls | Authorised factories, subcontracting, overruns and rejects | These rules usually sit in the licence agreement, not the guide |
Placement, scale and minimum sizes on a three-dimensional product#
A placement drawing for soft goods needs measurements from fixed points: the top seam, the zipper line, the centre fold or the base. "Centred on the front" is ambiguous when the front panel is curved or when the bag is shown flat in the tech pack but stands up in use.
The factory also needs minimum sizes and clear-space rules per decoration method. A mark that is legible when printed may lose detail when embroidered at the same size. If the guide gives one minimum size for print only, ask the licensor for a soft-goods minimum or agree to test it on a strike-off before artwork approval. Our comparison of embroidery and debossing explains why the two methods treat fine detail differently.
Legal lines, trademark symbols and labels#
Licensors normally specify a copyright or trademark line, the symbols to use with each mark and where the line must appear. The factory needs the exact text, the minimum type size, and its location: on a sewn label, a hangtag, the packaging or the product itself.
Symbols are not interchangeable. In the United States, the USPTO explains that the ™ symbol can be used to claim rights in a mark even before an application is filed, while the ® symbol may only be used once the mark is registered, and only with the goods or services listed in the registration. A guide written for another product category may show ® against a mark that is registered for different goods, so check which symbol applies to bags before artwork is locked.
The legal line also shares space with labelling that the law requires. In the EU, the General Product Safety Regulation (EU) 2023/988, applicable from 13 December 2024, requires manufacturers to indicate their name, registered trade name or registered trade mark, their postal and electronic address and, where different, the address of a single contact point, on the product or, where that is not possible, on its packaging or in a document accompanying it. The product also needs a type, batch or serial number or another element that identifies it. Under the regulation, a manufacturer includes a business that has a product made and markets it under its own name or trademark, so agree whose details go on the label. Decide early whether the licensor's line, the manufacturer details and any care label share one sewn label or are split between label and hangtag.
Working on a programme like this? Send us the brief and we will come back with material and construction options. Contact Us →
The approval stages a factory should plan for#
Licensed products usually pass through several approvals: concept or artwork, then a pre-production sample, and often production samples taken from bulk. The factory needs to know which stages apply, who signs each one, what physical samples the licensor expects and how many, and whether photographs are accepted at any stage.
It also needs to know what counts as a change. If a zipper colour, a lining or a label position changes after approval, some licensors treat that as a new submission. Writing this down in the brief makes clear which substitutions need approval before they are made.
Controls on factories, components, overruns and rejects#
Many licence agreements restrict where licensed products may be made. The factory needs to know whether it has to be named or approved before production, whether any audit or code of conduct applies, and whether any process, such as printing or embroidery, may be done by a subcontractor. Confirm these points against the licence agreement and state them in the brief or supply contract; if subcontracting is not allowed, say so rather than assuming the factory will ask.
Branded components need the same attention. Printed labels, woven tags, zip pullers and hangtags carrying licensed artwork should be accounted for, and the brief should say what happens to surplus components, overruns and rejected units: returned, held, or destroyed with a record. These rules usually come from the licence agreement, so confirm them in the agreement and write them into the brief or supply contract before sampling.
A checklist to send with the style guide#
Before the factory starts sampling, send the style guide together with a short soft-goods addendum that answers:
- Which marks, characters and artwork versions are approved for this product category
- Vector master files, with each decoration method's adapted file flagged for approval
- Colour system, physical standards, thread references and the light source for approval
- Placement drawings measured from seams or fixed points, with minimum sizes per method
- The exact legal line, symbols, type size and location, plus who supplies hangtags
- Approval stages, signatories, sample counts and what counts as a change
- Factory authorisation, subcontracting limits and audit requirements
- Handling of branded components, overruns and rejects
A guide that answers these questions lets the factory sample once against a clear standard rather than in several rounds of queries.
Sources#
- USPTO, Trademark Registration Toolkit (use of ™ and ®): https://www.uspto.gov/sites/default/files/documents/TM-Registration-Toolkit.pdf
- GOV.UK, EU Regulation 2023/988 on General Product Safety: detailed guidance (manufacturer obligations, applicable from 13 December 2024): https://www.gov.uk/government/publications/general-product-safety-regulations-northern-ireland/eu-regulation-2023988-on-general-product-safety-detailed-guidance
- EUR-Lex, Regulation (EU) 2023/988 (General Product Safety Regulation), Article 9(5)–(6) and the definition of manufacturer in Article 3: https://eur-lex.europa.eu/eli/reg/2023/988/oj/eng